Everyone knows how to assemble a tricycle. But do you know how to build the production line itself?
At our factory, we build assembly lines for all types of vehicles—two-wheelers, three-wheelers, and low-speed four-wheelers (LSEVs). The logic is actually the same. Today, let’s talk about the Electric Tricycle Line. This is the most popular project for startups right now.
1. The Basic Layout: Don’t Overthink It
If you are setting up a new plant, don’t waste money on fancy robotics at the start. Just focus on the flow. We call it the Four Steps:
Steel Tubes In
↓
[Cutting & Stamping] Cut the pipes, bend the frames.
↓
[Welding] Robot welding or manual welding. (Robots cost more upfront, but save you 20 workers).
↓
[Painting] Electrophoresis (E-coat) is a must. If you skip this, your bikes will rust in 6 months.
↓
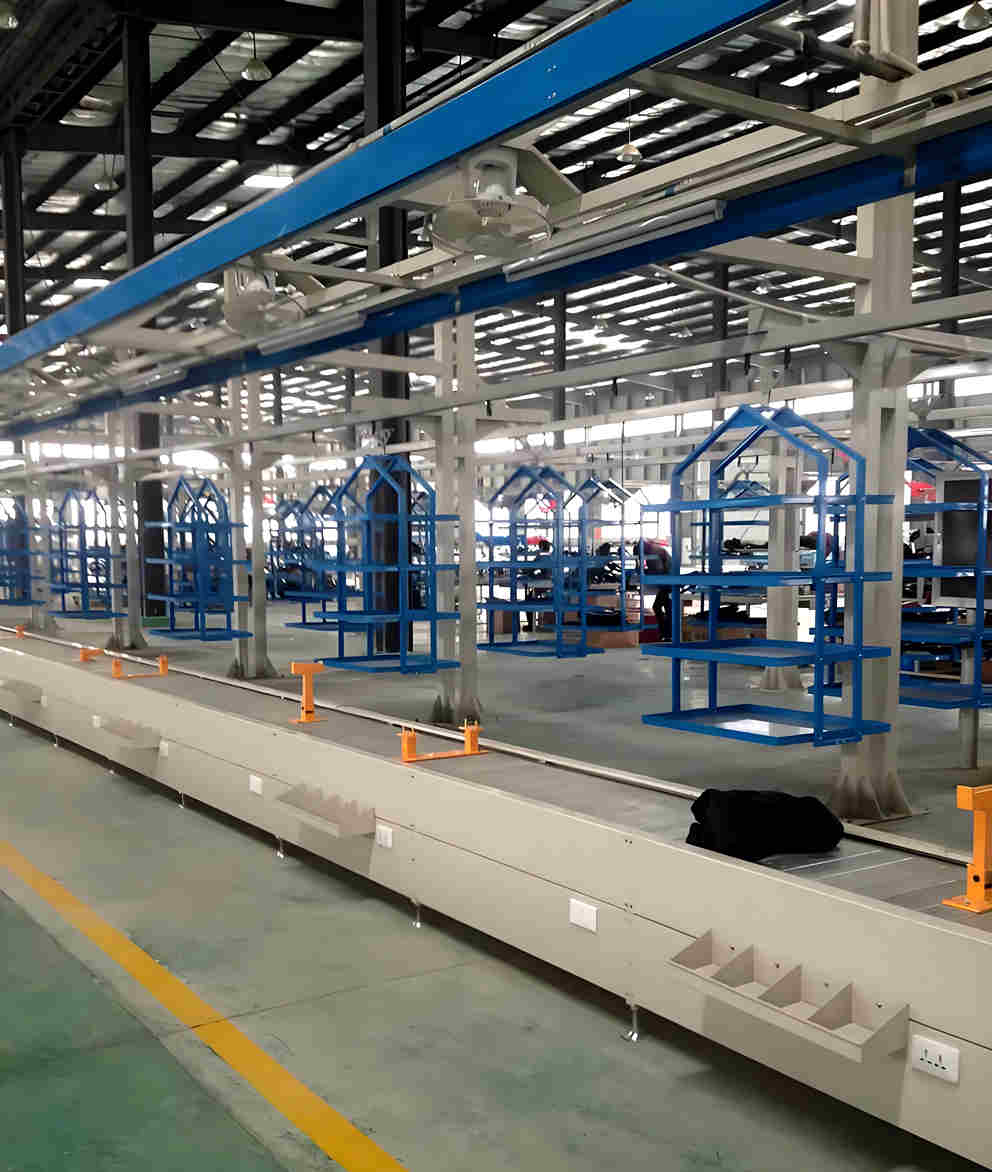
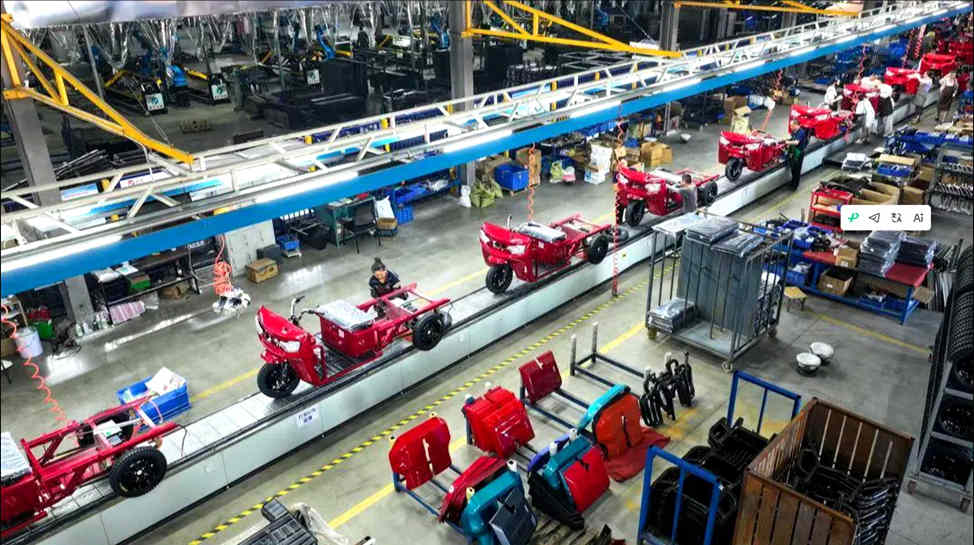
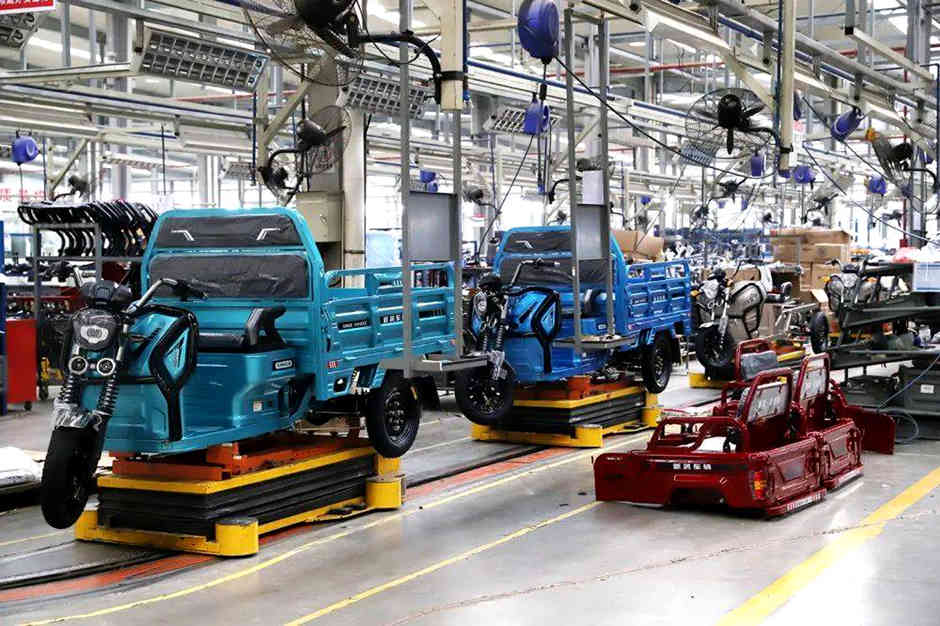
[Assembly Line] This is where the magic happens. We usually use Slat Chain Conveyors.
↓
[Testing] Test the brakes, test the lights, road test.
Pro Tip:
Most small factories use a Straight Line. It is cheap and easy to fix. If your workshop is narrow, use a U-Shaped Line. You can save 30% of the floor space.
2. The Assembly Line Workstations (The Secret Sauce)
This is the part that matters. Whether it’s a 2-wheel or 3-wheel vehicle, the assembly order is fixed by physics. You can’t put the wheels on before the frame. Here is our standard setup:
| Station No. | What to Do | Why It Matters (Our Advice) |
|---|---|---|
| Station 01 | Rear Axle + Leaf Spring | The foundation. If this is crooked, the whole vehicle vibrates. |
| Station 02 | Chassis Bolts | Use Pneumatic Tools. Hand tightening is not allowed. Safety first. |
| Station 03 | Wiring Harness | The “nervous system”. Make sure the wires don’t touch the hot motor. |
| Station 04 | Front Fork + Handlebar | Align the front wheel with the handlebar. Simple but crucial. |
| Station 05 | Wheels & Tires | Tubeless tires are easier to install on the line. |
| Station 06 | Lights & Fenders | Quick job. Just plug and play. |
| Station 07 | Seats & Plastic Parts | Makes the vehicle look finished. |
| Station 08 | Cargo Box Installation | Heavy lifting. You need a small hoist or crane here. |
| Station 09 | Battery Connection | The moment of truth. Does it power on? |
| Station 10 | Final Inspection | Check the brakes. If the brakes fail, you have a lawsuit. |
3. Speed and Capacity
- Cycle Time: About 20–30 minutes per unit on a standard line.
- Monthly Output: One single line can do 3,000 to 5,000 units per month easily. If you need more, just add another line or run double shifts.
4. Before You Buy a Line…
If you are looking for a supplier to build this for you, ask them these 4 questions:
- Can the line handle different sizes? (If you change the frame size later, do you need new fixtures?)
- What is the torque setting? (Cheap lines use hand tools. Good lines use torque-controlled spindles.)
- Is it easy to maintain? (We use standard chains and motors. If it breaks, any local mechanic can fix it.)
- Upgradability: Can you add robots later?
We design and build these lines. If you have a factory layout or a target capacity, send it to us. We’ll give you a proposal that actually works on the shop floor.